What to check on the first visit
The three survey failures are power, surface and access. No socket within reach, a target surface that is glossy or patterned, and a mounting point that needs scaffolding to reach — any of these turns an one-hour wedding light install into a two-visit job. All three are visible in ten minutes on site.
- Power within reach of the mounting point
- What the target surface is made of and how it is lit
- Whether the mounting point carries the weight
- Access for future servicing — ladder or powered platform
Mounting height and bracket choice
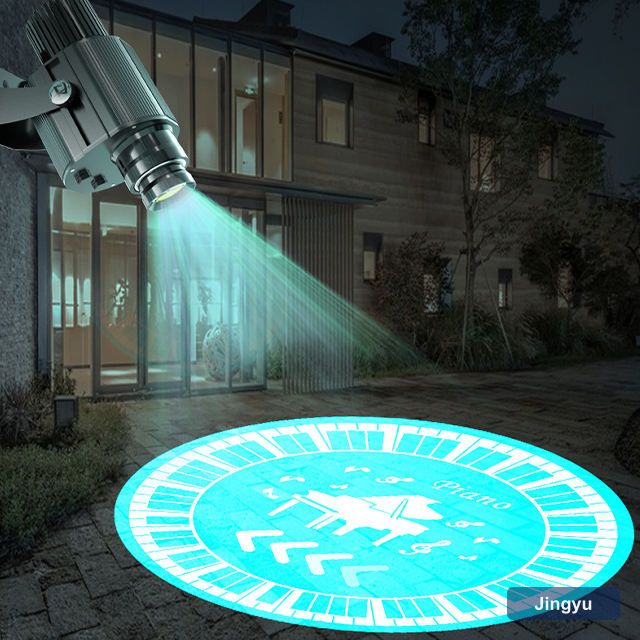
Aim for a straight-on shot and a reachable position. The geometry matters more than people expect: at 30 degrees off-axis a rectangular logo becomes visibly trapezoidal, and no amount of focus adjustment fixes it. If the only available position is steeply angled, plan the artwork to suit — or move the surface.
- Bracket rated above the fixture weight
- Stainless fixings for exposed positions
- Beam as close to perpendicular as the site allows
- Position reachable without powered access
The order of adjustments
Adjust in this order: position, zoom, focus, then rotation. Moving the bracket after you have focused wastes the whole sequence, so get the geometry settled first. On a wedding light, set the zoom to frame the image on the target surface, then focus at the centre of the image and check the corners — if the corners are softer than the centre, the beam is off-axis.
Power, cable routing and switching
Power is where commercial installs fail inspection. A wedding light drawing 20–80 W is not a problem in itself, but a cable run across a public area, a domestic extension lead, or an unswitched spur all are. Plan a fixed supply, use a gland rated to the environment, and route the cable so it is neither a trip hazard nor the first thing a cleaner unplugs.
- Fixed, switched, protected supply
- Cable gland rated for the environment, fitted with a drip loop
- Run out of reach and out of the cleaning route
- Connection point accessible without dismantling the unit
Commissioning checks
Commission in three checks: image sharpness at the corners, contrast against the surface at the working hour, and a full duty cycle run without thermal cut-out. That last one matters for IP20 units in enclosed spaces, where a wedding light can pass every optical test and still trip after four hours in a hot ceiling void.
- Image sharpness at the centre and all four corners
- Contrast against the surface at the working hour
- Full duty cycle run without thermal cut-out
- Housing temperature after an hour at full output
Handover notes worth leaving behind
Write down the settings. A wedding light reinstalled after decoration, or a second unit ordered to match the first, is only reproducible if somebody recorded the throw, the lens setting and the gobo reference. Put it in the site folder and send a copy to whoever will order the replacement.
- Installed throw distance and image size
- Gobo size and reference code
- Lens settings
- Reorder contact and lead time