Survey before you drill
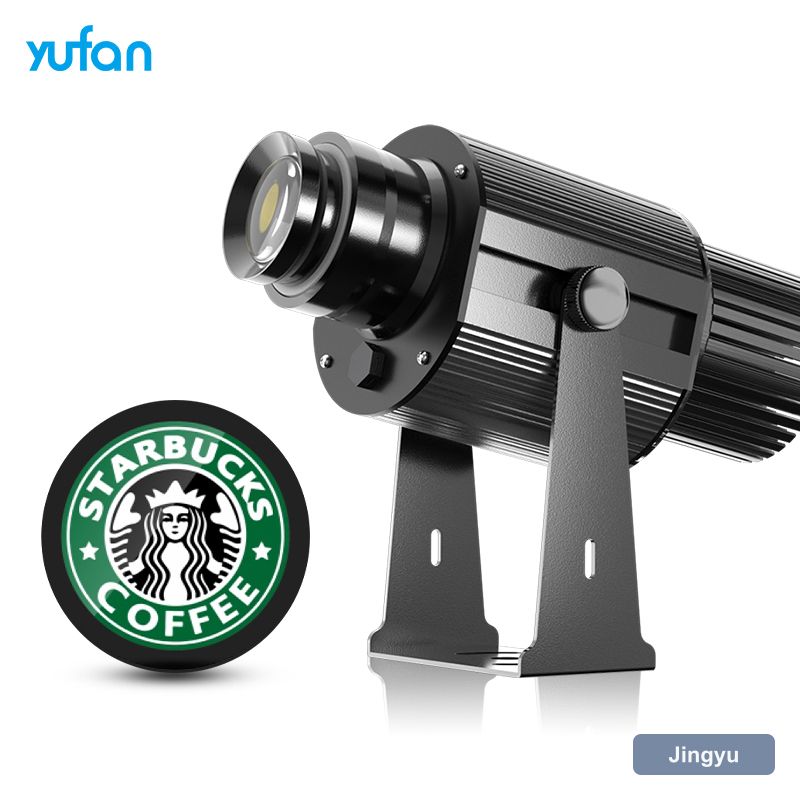
A gobo projection light install is mostly survey work. Walk the site at the hour the projection will run, because the ambient light, the position of vehicles, and even the position of a display stand all change what works. Take a photo, measure the throw, and mark the cable route before ordering anything.
- Nearest power and whether it is switched
- Surface material, colour and ambient light at the working hour
- Fixing substrate and bracket load
- How the unit will be reached for cleaning
Getting the geometry right before it is fixed
Aim for a straight-on shot and a reachable position. The geometry matters more than people expect: at 30 degrees off-axis a rectangular logo becomes visibly trapezoidal, and no amount of focus adjustment fixes it. If the only available position is steeply angled, plan the artwork to suit — or move the surface.
- Bracket rated above the fixture weight
- Stainless fixings for exposed positions
- Beam as close to perpendicular as the site allows
- Position reachable without powered access
The order of adjustments
Adjust in this order: position, zoom, focus, then rotation. Moving the bracket after you have focused wastes the whole sequence, so get the geometry settled first. On a gobo projection light, set the zoom to frame the image on the target surface, then focus at the centre of the image and check the corners — if the corners are softer than the centre, the beam is off-axis.
- Confirm the geometry and tighten the bracket
- Zoom until the image fills the intended area
- Focus on the centre of the image
- Check the corners — soft corners mean an angled mount
The part that fails inspection, not the optics
Fit the cable gland the right way up and leave a drip loop. Those two details prevent most of the water ingress calls on outdoor gobo projection light installs. Then confirm the supply is switched and labelled, so the site team can isolate the unit without hunting through a distribution board.
- Fixed, switched, protected supply
- Cable gland rated for the environment, fitted with a drip loop
- Run out of reach and out of the cleaning route
- Connection point accessible without dismantling the unit
Test it the way it will be used
Commission in three checks: image sharpness at the corners, contrast against the surface at the working hour, and a full duty cycle run without thermal cut-out. That last one matters for IP65 units in enclosed spaces, where a gobo projection light can pass every optical test and still trip after four hours in a hot ceiling void.
- Image sharpness at the centre and all four corners
- Contrast against the surface at the working hour
- Full duty cycle run without thermal cut-out
- Housing temperature after an hour at full output
Handover notes worth leaving behind
Leave four things behind: the throw distance and image width as installed, the gobo reference, the focus and zoom settings, and the supplier's contact for re-cutting artwork. Six months later, when somebody asks for a second unit to match, that sheet of paper is worth more than the manual.
- Installed throw distance and image size
- Gobo size and reference code
- Lens settings
- Reorder contact and lead time