The failure mode nobody catches
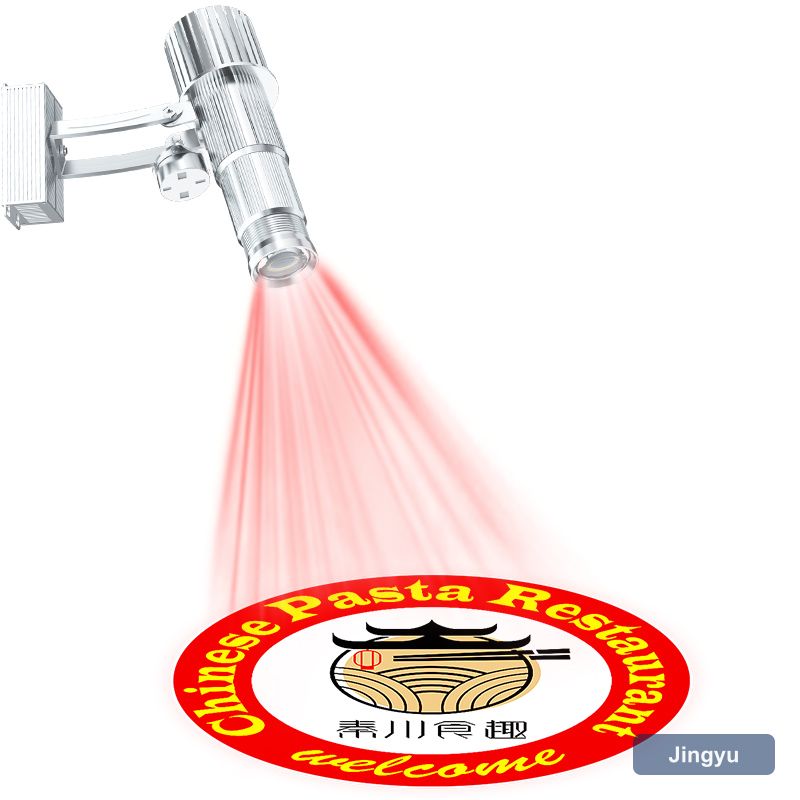
The failure mode is decline, not breakdown. Dust on the lens, a film on the gobo, a seal that has started to let in moisture — each takes a little output, and together they turn a bright logo light projector into a disappointing one without anything ever actually breaking.
- Take a reference photo at install, under the conditions it will run in
- Repeat it annually, same hour, same house lighting
- Log any cleaning or gobo change with a date
- Compare before assuming the unit has failed
How to clean without damaging coatings
Two rules prevent most damage: dry first, and touch nothing you do not have to. Remove loose dust with a blower, use isopropyl sparingly on a lens cloth, and leave the gobo alone unless there is a visible mark on it. A logo light projector opened for cleaning is a logo light projector at risk of a badly seated gasket.
- Remove loose dust with a blower or soft brush
- Wipe with a lens cloth and a little isopropyl only
- Never use a household cleaner on coated optics
- Handle the gobo by its edge only
Gobo inspection and replacement
Re-cut the gobo when the image, not the output, is the problem. If brightness has fallen everywhere, look at the optics; if a specific part of the image has degraded, look at the gobo. Storing a spare metal gobo means a damaged one is a five-minute swap rather than a two-week wait.
The half-yearly inspection
Twice a year, check the things that cause failures: housing temperature after an hour at full output, the condition of the seals and gaskets, the tightness of the bracket, and the state of the cable gland. A logo light projector that is running hot, or whose gland has perished, will fail long before the LED reaches its rated hours.
- Housing temperature after an hour at full output
- Seals and gaskets still seated and supple
- Bracket tight and the unit still on aim
- Cable gland intact and the drip loop in place
Seasonal and event checks
Seasonal checks are about duty cycle, not optics. Run it for the length of the event, at the hour it will run, and confirm it does not cut out. Clean the optics at the same time and you will start the season at full output.
- Run a full duty cycle at the working hour
- Check for thermal cut-out after an hour or two
- Clean the optics before the season starts
- Confirm the timer and switch settings
Spares worth holding
The spares list is short because the failure modes are few. A spare metal gobo covers image damage; a spare control handset covers the most common support call; a recorded artwork reference covers everything else. Keep them together with the install record.
- A spare gobo, cut from the same artwork file
- A spare control handset or remote
- The artwork reference and reorder contact
- The install record with throw and settings